Here are some of the things we’ve learned about what works well for large-scale printing.
Carving Your Block
Block Substrates
These are some of the materials we’ve used or seen used to produce blocks for Really Big Prints. We ask printers to bring blocks that are 32″ x 60″ x 0.75″. Printers can carve and print smaller blocks. If you plan on doing that, please consider what materials (like additional wood) you might use to help lock your smaller block into the larger jigs.
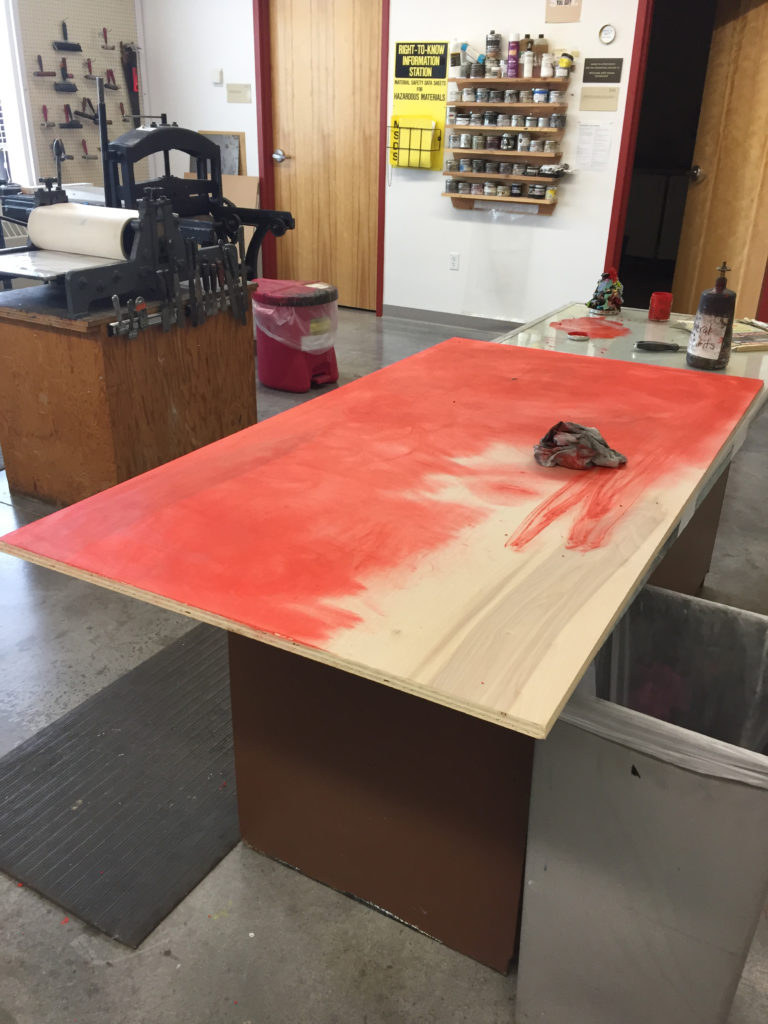
Birch Plywood – Make sure your board has at least one good smooth face. Can be purchased at most hardware stores. Disadvantages to birch plywood include the grain orientation and having to use “plastic wood” to patch voids in the plywood core. To prepare your birch plywood block: sand with a coarse grit sand paper, wipe away dust, wipe with a damp rag to raise the grain, and sand again with a finer grit. Stain red (or some other non-black color) with thinned ink. Transfer and ink image (backwards!) and seal with thin shellac. Alternatively, you can stain and seal at the same time by tinting some waterborne acrylic polyurethane.
Medium Density Fiberboard (MDF) – MDF is nice in that it has no grain. To prepare your MDF board: Stain and seal your image under a layer of tinted waterborne acrylic polyurethane.
Carving Tools
We’ve used both hand gouges and chisels designed for wood carving as well as electric dremels and drills. Different dremel and drill bits will generate different types of marks. With all tools, use proper safety protection like leather gloves, and with the electric tools, eye protection.
For hand tools, we recommend having a variety of profiles. A large scoop gouge, a flat chisel, and a small V gouge are helpful. Handle size and length can vary based on your preference. Hand and gouges and chisels will need to be sharp to work well and honed regularly to keep an edge.
Once you’ve finished carving, reseal your block and let it dry.
Printing Your Block
Papers
We prefer using printmaking papers that come on rolls. Below is a list of papers collected from the 2021 printers. You can buy rolls of these papers online at places like Acuity Papers, Hiromi Paper, Talas Online, Jerry’s ArtaRama, Dick Blick, and other art suppliers.
Asuka Inkjet
Masa
Mulberry
Okawara Pro
Okawara Student
Rives BFK
Shiramine
Strathmore Student Roll
Torinoko
Some artists also printed on fabric including but not limited to the ones below. It’s a good idea to iron the fabric before printing to eliminate any wrinkles.
Muslin
Nylon
Satin
Jersey mesh
Found bed sheets
Inks, Modifiers + Clean Up
We’ve used oil-based inks from Graphic Chemical modified with a generous amount of plate oil (to increase viscosity) and cobalt drier (to help prints dry in time for people to take them home). We clean up with vegetable oil followed by Simple Green to degrease the ink slab.
Rollers, Brayers & Other Printing Tools
We recommend having a variety of large two-handed rollers as well as smaller brayers. This allows for different types of ink coverage as well as for multiple people to be inking a block at the same time.
Blankets, Jigs + Shims
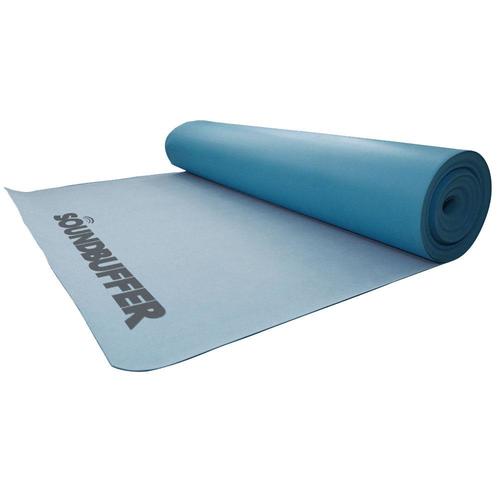
One of the issues we’ve worked hard to overcome is making sure the inked block does not shift at all when the streetroller first makes contact with the jig. To do that we create wood jigs out of OSB board that hold the blocks in place. We use small wedge-shaped wood shims to “lock” the blocks into the jigs and then cover the whole inked-block-and-paper package with two 1/25″ blankets made from foam pieces used to insulate flooring. You can find it at many hardware and home improvement stores. As noted above, if a block is much smaller than the standard size (in our case 32″ x 60″ x 0.75″) it can be helpful if the printer brings the additional furniture and reglets to help lock the block into the larger jig.
Storing and Displaying Your Prints
Slip Sheets
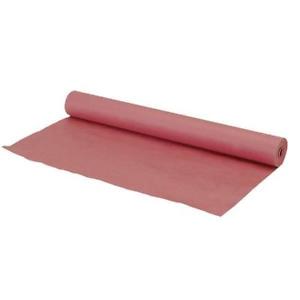
We use red rosin paper for slip sheeting between prints. The rosin helps keep the prints from sticking to the paper. Rolls are available cheaply from hardware and home improvement stores like Home Depot or Menards. Buy enough to let each participant slip sheet their work before rolling it up to travel home. Large cardboard tubes like those used to form concrete are helpful to transport or ship prints this large. We also use this paper to store the suite of prints we keep for exhibition.
Exhibition + Shipping
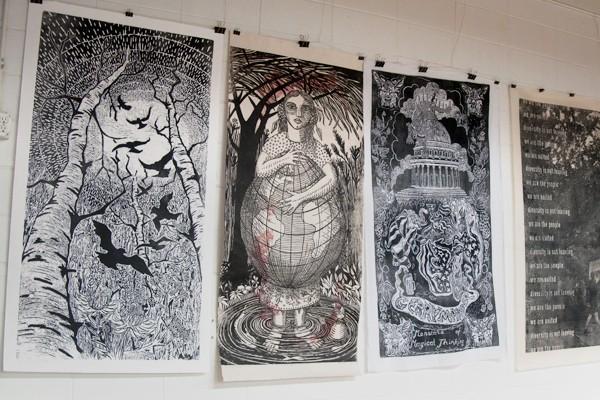
Making a bunch of really big prints means you’ll need a lot of space to display them. Consider and approach non-traditional spaces with tall ceilings and big walls like airports or convention centers. The scale of the prints also makes it cost-prohibitive to frame a large group of them. We’ve used magnetic wall tacks (like Magnetacks) to display our prints. Not framing the prints also means they can be shipped rolled in a large cardboard tube like the one shown above.
If you cannot put tacks in the wall, it’s possible to hang the prints with binder clips from a level wire as we’ve done at Hamilton Wood Type & Printing Museum. Plan to use three clips per print; this prevents the prints from sagging in the middle.